Understanding Mikrotik Switch: Features and Specifications
The Mikrotik Switch has carved out a significant niche in the networking equipment market due to its impressive performance, flexibility, and cost-effectiveness. This article will explore the core features and specifications of Mikrotik Switch, positioning them within the larger landscape of networking devices. From understanding the distinct functionalities it offers to comparing its capabilities with other switches, we will cover essential insights that any network professional or enthusiast should consider.
Key Features of Mikrotik Switch
Mikrotik Switches are known for several standout features that set them apart from their competitors. Here are some key attributes:
- Layer 2 Switching Capabilities: Mikrotik Switche operating on Layer 2 allows for efficient data switching without getting bogged down by routing tasks.
- Highly Configurable: One of the strongest aspects of the Mikrotik Switch is its versatility. Users can tailor nearly every aspect of its configuration, making it suitable for various networking needs, including VLAN setups and trunking.
- High Throughput: Designed for high efficiency, these switches support data rates that accommodate demanding environments, ensuring minimal latency and maximum data transfer volumes.
- Management Interface: The user-friendly interface simplifies the configuration process. Even those with limited networking knowledge can navigate through settings easily.
- Quality of Service (QoS): Mikrotik Switches provide advanced QoS features to prioritize traffic based on user-defined policies, enhancing overall network performance.
Technical Specifications Explained
Delving into the technical specifications of Mikrotik Switches reveals their robust architecture:
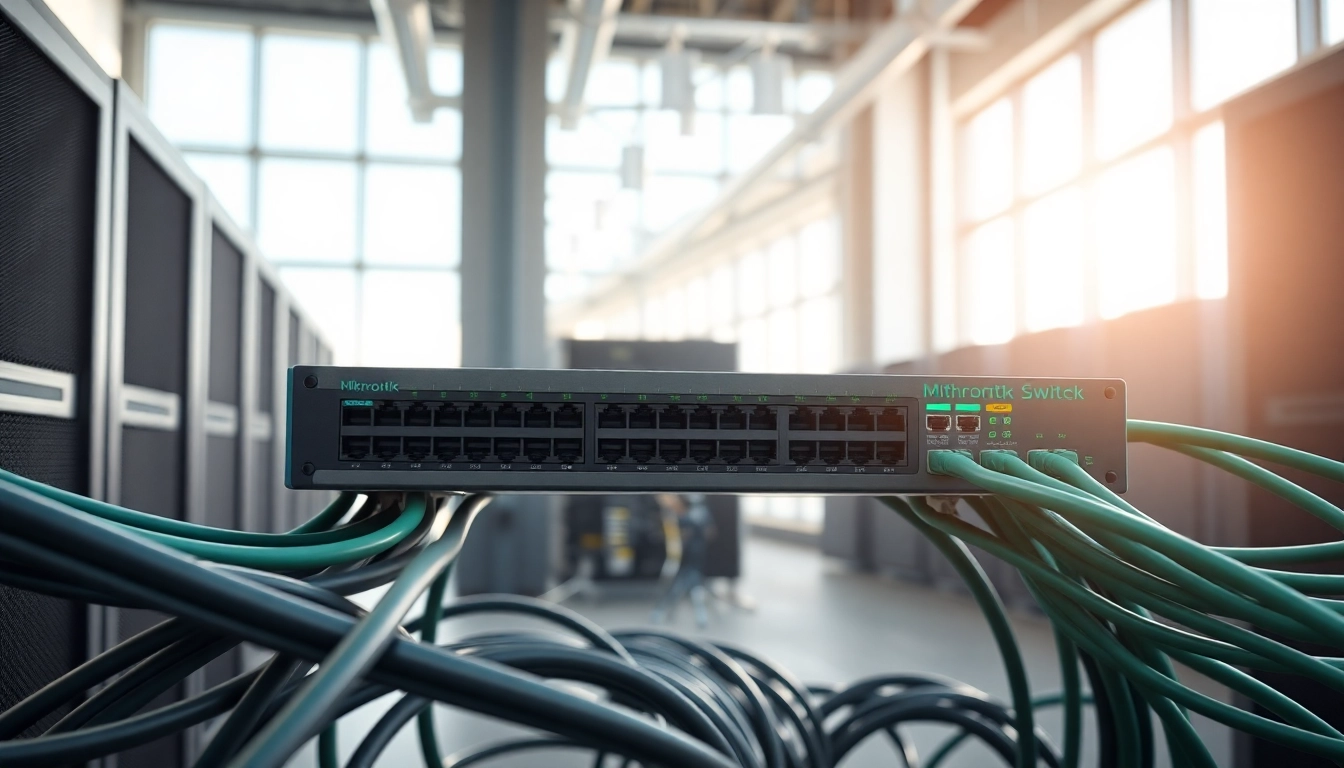
- Port Configuration: Most Mikrotik Switches feature multiple ports, often ranging from 5 to 32, which gives flexibility in connecting various devices.
- Forwarding Capacity: Their capacity often exceeds several Gbps, accommodating heavy data traffic seamlessly.
- Power over Ethernet (PoE): Many models support PoE, allowing users to power devices such as access points or cameras through the same cable, reducing clutter.
- VLAN Support: Functionality for configuring Virtual LANs enables network segmentation for improved security and performance.
- Operating Temperature: Mikrotik devices are built to withstand various environmental conditions, ensuring reliability in both indoor and outdoor setups.
Comparison with Other Networking Devices
When comparing Mikrotik Switch with other networking devices, several factors come into play:
- Price Point: Mikrotik Switches typically offer a more competitive pricing model within the networking market, making them a preferred choice for budget-conscious setups.
- Customization: They offer a higher degree of customization compared to many of their mainstream counterparts, which often come with fixed configurations.
- Support and Community: Mikrotik boasts a dedicated user community and extensive resources available online, providing ample support for troubleshooting and configuration.
- Performance Metrics: In various performance tests, Mikrotik Switches have consistently demonstrated their capabilities, often outperforming other similarly priced options in terms of throughput and latency.
Setting Up Your Mikrotik Switch: Step-by-Step Guide
To fully harness the capabilities of the Mikrotik Switch, a proper setup is paramount. Below is a comprehensive guide to ensure successful installation.
Preparing for Installation
Preparation for setting up your Mikrotik Switch involves several preliminary steps:
- Assess Your Network Needs: Determine your networking requirements. Identify the number of devices to connect and the bandwidth necessary to support them.
- Select the Right Model: Choose a Mikrotik Switch model that fits your specifications based on port numbers, PoE needs, and other required features.
- Gather Additional Equipment: Have all cables, a router, and any other networking hardware ready, including a computer for configuration access.
- Plan Your Network Layout: Sketch a layout of your network, outlining connections between the switch, router, and other network devices to visualize the setup.
Configuration Settings to Optimize Performance
After preparing for the installation, the next step is configuring the Mikrotik Switch for optimal performance:
- Connect the Equipment: Using appropriate Ethernet cables, connect your Mikrotik Switch to the router and other devices.
- Access the Management Interface: Log into the Mikrotik Switch management interface via a web browser or WinBox.
- Set Up Basic Configuration: Configure essential settings such as device name, IP address, and subnet mask to ensure network accessibility.
- Configure VLANs: If using VLANs, set up each VLAN according to your network plan, ensuring to assign the correct ports to each VLAN.
- Enable QoS Settings: Prioritize critical applications by enabling QoS features tailored to your network’s demands.
- Save Configuration: Always save your changes and create backups to prevent data loss in case of unexpected interruptions.
Common Installation Mistakes to Avoid
Many new users encounter pitfalls during the installation and configuration process. Here’s a list of common mistakes to avoid:
- Improper Cable Management: Ensure that cables are routed neatly and securely laid out to avoid accidental disconnections.
- Skipping VLAN Configurations: Neglecting to configure VLANs can lead to inefficient data traffic handling and potential security risks.
- Neglecting Firmware Updates: Always check for the latest firmware and ensure your switch runs on the most recent version to benefit from security patches and improvements.
- Ignoring Performance Testing: After setup, conduct thorough tests to gauge performance and troubleshoot any unforeseen issues.
Advanced Configuration Options for Mikrotik Switch
For users looking to extract maximum value from their Mikrotik Switch, advanced configurations can significantly enhance network performance and management:
Implementing VLANs for Network Segmentation
VLAN (Virtual Local Area Network) implementation allows network segmentation to improve security and reduce broadcast traffic. By following these steps, users can successfully set up VLANs:
- Identify VLAN Requirements: Determine the different types of traffic in your network and classify devices into logical groupings.
- Access VLAN Configuration: Navigate to the VLAN configuration section on your Mikrotik Switch interface.
- Create New VLANs: For each identified group, create a new VLAN, assigning a unique ID.
- Assign Ports: Allocate specific ports on the Mikrotik Switch to the created VLANs to facilitate traffic routing and control.
- Test VLAN configurations: After configuring, validate functionality by testing devices on the respective VLANs to ensure they can communicate internally.
Utilizing Link Aggregation
Link aggregation is a method to combine multiple network connections in parallel to increase throughput and provide redundancy. Here’s how to effectively implement it:
- Identify Aggregatable Links: Determine which device connections can be grouped, ensuring they are configured to handle aggregated traffic.
- Access Link Aggregation Settings: Find the link aggregation setup within the switch’s management interface.
- Create Aggregation Group: Form a new aggregation group, specifying the links to include, and setting appropriate load balancing policies.
- Monitor Traffic: After setup, continually monitor the aggregated links to ensure they are functioning correctly and optimizing available bandwidth.
Quality of Service Settings
Quality of Service (QoS) is essential for managing bandwidth and ensuring critical applications perform optimally. To set up QoS on your Mikrotik Switch:
- Assess Traffic Flow: Identify applications and services that require bandwidth prioritization.
- Access QoS Configuration: Navigate to the QoS section of the switch management interface.
- Create Rules: Specify QoS rules that define priority levels for different types of traffic based on protocols or application types.
- Test QoS Effectiveness: Monitor network performance post-configuration, adjusting rules as necessary to meet changing traffic needs.
Troubleshooting Common Issues with Mikrotik Switch
No matter how well-configured your Mikrotik Switch is, issues can arise. Here are some common problems and their solutions:
Identifying Connectivity Problems
Connectivity issues can disrupt network performance. To diagnose these issues:
- Check Physical Connections: Ensure all cables are firmly connected to the appropriate ports.
- Examine LED Indicators: Check the switch’s LED indicators for signs of normal operation, such as blinking lights corresponding to data traffic.
- Ping Devices: Use the ping utility from connected devices to check if they can reach each other and the router.
- Review Configuration: Any misconfigurations, especially in VLAN settings, could cause connectivity issues. Verify these settings accordingly.
Resetting and Restoring Default Settings
If significant issues persist, resetting the Mikrotik Switch to factory settings may be necessary. The steps include:
- Locate the Reset Button: Find the physical reset button on the device, usually found on the back or bottom.
- Press and Hold: With the device powered on, press and hold the reset button for about 10 seconds, until the LEDs indicate a reset.
- Reconfigure Settings: After resetting, you will need to re-access the management interface and reconfigure all previous settings.
Monitoring Performance Metrics
To maintain optimal functionality, monitoring performance metrics is crucial. Key metrics to track include:
- Throughput Rates: Monitor the amount of data transmitted through the switch to assess if it meets performance expectations.
- Packet Loss: Keeping track of packet loss helps identify bottlenecks or faults within the network.
- Latency Measurements: Measuring latency can reveal delays in communication that may affect user experience.
- Utilization Levels: Monitoring port utilization helps in planning for future bandwidth needs and making informed upgrade decisions.
Enhancing Security with Mikrotik Switch
As cyber threats evolve, ensuring robust security for your Mikrotik Switch is essential. Below are strategies to enhance security:
Implementing Access Control Lists
Access Control Lists (ACLs) are vital for defining which devices can communicate across the network. Follow these steps to implement ACLs:
- Identify User Groups: Determine which user groups require different levels of access.
- Access ACL Settings: Navigate to the ACL configuration screen in the Mikrotik management interface.
- Create ACL Rules: Define specific rules for device access based on IP addresses or MAC addresses.
- Test ACL Implementation: Verify that the rules are effective by testing access from different devices.
Using Firewall Features Effectively
Mikrotik Switches boast robust firewall capabilities that can mitigate unauthorized access. Here’s how to configure it:
- Access Firewall Settings: Navigate to the firewall configuration within the interface.
- Create Filtering Rules: Set rules that either allow or deny specific types of traffic to flow through the switch.
- Log Suspicious Activity: Activating logging for specific firewall rules will help identify and track potential malicious actions.
- Regularly Update Rules: Continually analyze network traffic and adjust firewall rules as necessary to adapt to new threats.
Best Practices for Network Security
Implementing best practices is essential for maintaining long-term security:
- Regular Software Updates: Consistently update firmware and software to patch vulnerabilities quickly.
- Backup Configurations: Regularly back up device configurations to avoid loss during a security breach or device failure.
- Device Passwords: Utilize strong, unique passwords for device access and change them regularly to prevent unauthorized access.
- Network Segmentation: Once again, utilizing VLANs enables effective segmentation of sensitive data, isolating it from less critical traffic.